Oh, that little Tara has quite a challenge for us this week, crafty ones!

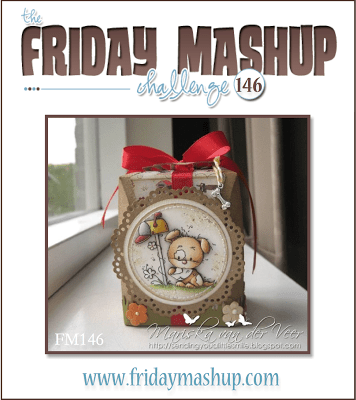
Project: Mariska van der Veer
You can see Mariska’s Tutorial on the 3-D paper Piecing Technique from Splitcoaststampers here.
Here’s your Mashup Challenge:
Create a project with “Cherry Cobbler, Primrose Petals, Soft Sky & Marina Mist.”
Create a project using “3-D Paper Piecing”.
Or Mash it Up and create a “3-D Paper Piecing Project with the above Colors.”
Get out your snips and get ready to battle cutting! Can you tell I am not one for fussy cutting? HAHAHA…however, Tara brought me out of my comfort zone, and looking at my card now makes me happy! I picked a stamp image that was sketchy and left me some room to layer. I stamped the image and then cut out parts of it I thought I could layer. I did not have the glue the tutorial suggested so I used dimensionals. I am going to get some of that glue though, it looks like a neat product. I think it would look cooler to use the glue without the actual break where the dimensionals are holding the layers apart. I mashed it up by using Tara’s color choices, too.
Here is mine….I want to see yours- you can do it if I can!
Link up at the Friday Mashup #146.

I tried to show you the dimension by taking a side view, and it looks a bit wonky on his hat but up close and in person, it really looks 3D without any breaks. I think while I was standing on my head taking that photo it gave a strange angle.

I stamped the whole image and then cut out just the snowman’s belly and head. I popped them up off the main image and then popped up the scarf and the hat as another layer on that. Notice where you can see the uncolored part of the scarf under the colored popped up part? I tried to get that in the photo to show you how it layers. I also just cut out the carrot nose and glued it to the face. I added a few black rhinestones that really look like coal buttons:) A few of my stampers were touring my center tonight after class and spotted Mr. 3D Snowman and liked it so I guess I conquered my first attempt at 3D paper piecing! I think I was supposed to color my main image on the bottom gray like a shadow…but I am not pulling him apart now!
Card Recipe:
STAMPS: SU Snow Much Fun
INK: SU Primrose Petals, SU Marina Mist, Stazon Black, SU Pumpkin Pie
PAPER: SU Cherrry Cobbler, SU Watercolor Paper, SU Soft Sky
ACCESSORIES: random black rhinestones
TOOLS: SU Labels Framelits, SU Paper Piercing Pack for Labels Framelits, SU Northern Flurry Embossing Folder